Getting started
This guide walks you through signing in and creating your first project.
1. Sign in
Open the app and you'll land on the Sign In screen.
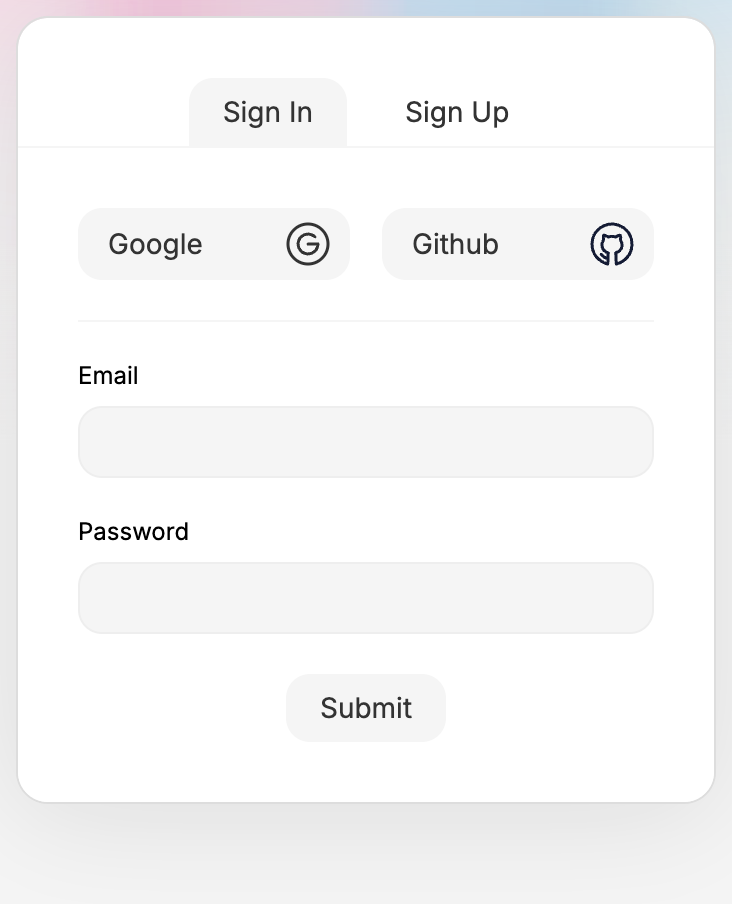
You can sign in two ways:
Email & password — type your email and password, then click Submit.
Single sign-on — click Google or GitHub to sign in with that account.
If you don't have an account yet, switch to the Sign Up tab at the top. It asks for First Name, Second Name, Email, Password and Repeat Password, then emails you a verification link.
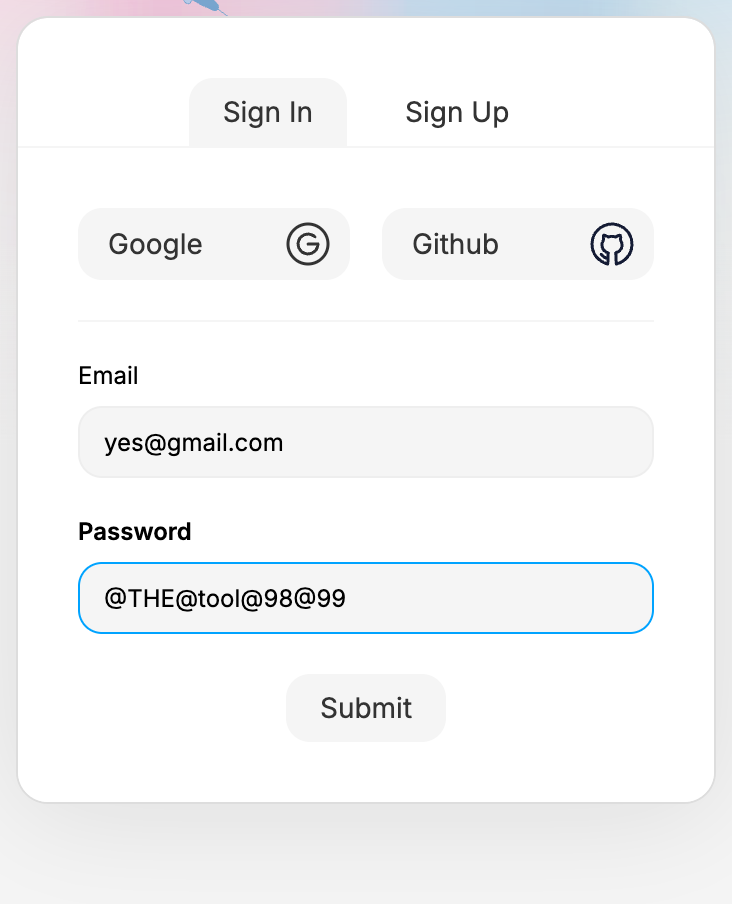
Leaving a field empty shows a message like "Email can not be empty." — fill the empty field and submit again.
2. The dashboard
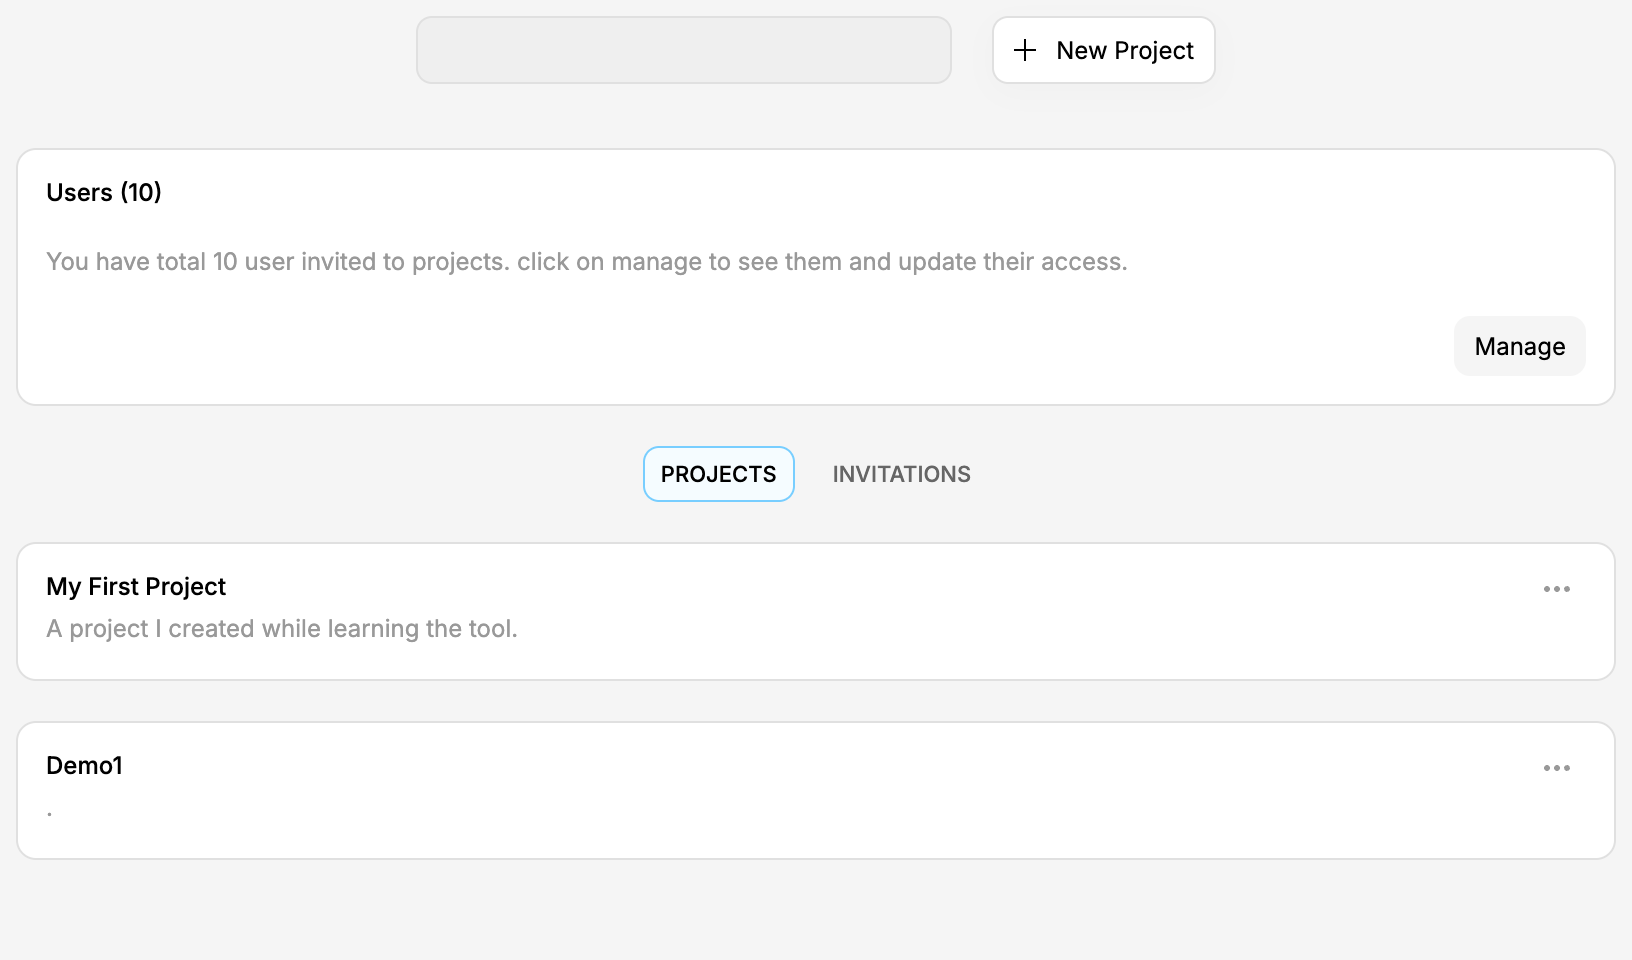
After signing in you arrive at the Dashboard. It shows:
a notification bell and your account menu at the very top — the bell lists what happened to your projects; the menu switches between signed-in accounts or logs out,
a search box and the + New Project button at the top,
a Users panel (people invited to your projects — click Manage to edit access),
the PROJECTS / INVITATIONS tabs, with your projects listed below.
PROJECTS lists the projects you own; INVITATIONS lists the ones someone shared with you.
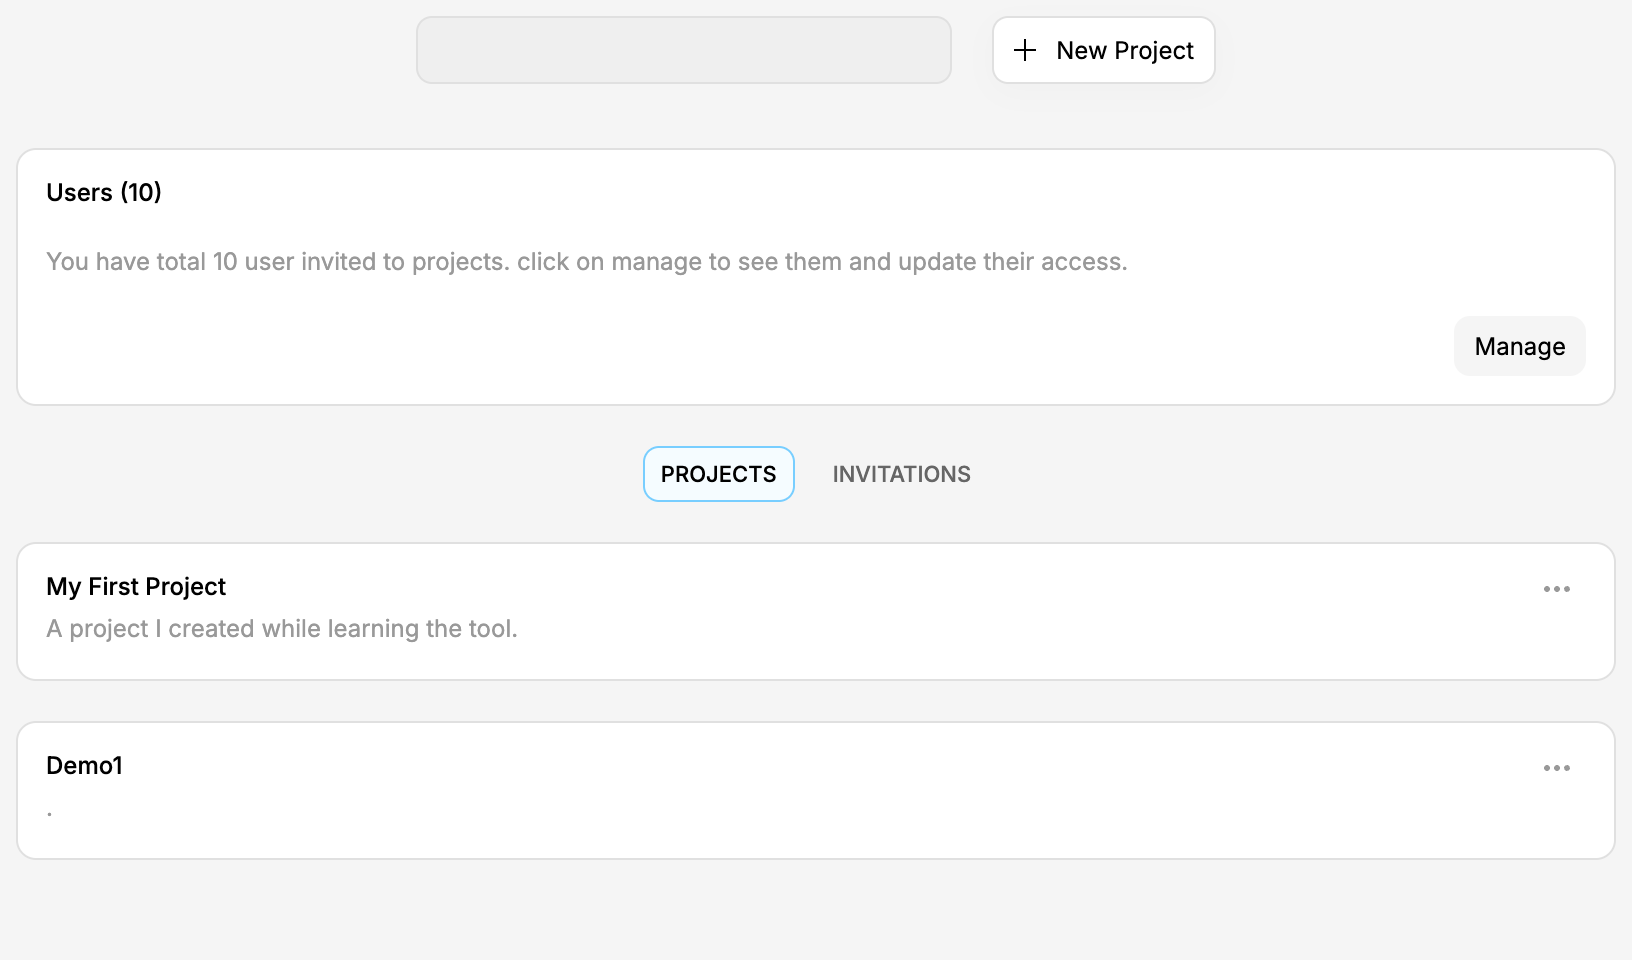
Use the search box to filter your projects by name.
3. Create a project
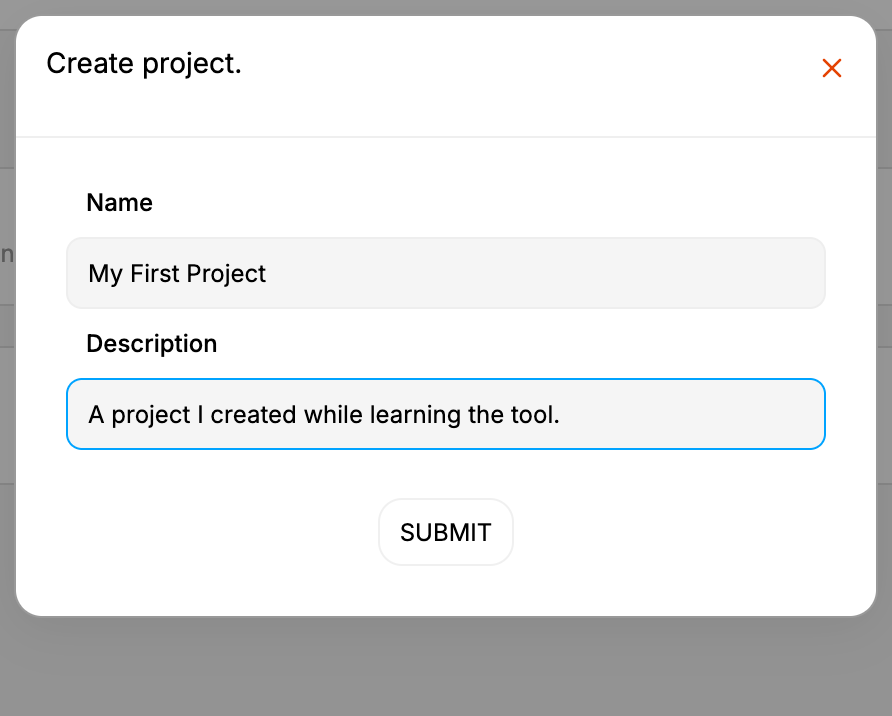
Click + New Project.
In the Create project dialog, enter a Name and a short Description.
Click SUBMIT.
Both fields are required. A name must be at least two characters, must not start with a number, and may only use letters, numbers, spaces, _ and -; every space has to come before the first digit, so Version final 2 is accepted but Version 2 final is not. Anything else shows "Invalid Name". It also has to be unique among your projects; reusing a name shows "Project with name '…' Already exists".
4. Done
Your new project appears at the top of the PROJECTS list. Click it to open and start designing.
Next: Your first component — build something on the canvas and see it become code.